Showing posts with label silhouette cameo. Show all posts

Saturday, February 27, 2016

Catching up!

Just popping in to share some more creations that I've been making over the last little while.


This past week I shared a tutorial HERE on the Silhouette America blog on Printable Foil.  Printing on this foil has a beautiful effect and it works so nicely too.


This past month I created this pillow cushion with a fun heat transfer design. I love how it turned out. You can read all the details on the Silhouette America blog HERE.


This fun project I used some etching cream to make my own design on a glass vase.  It's super fun & really easy to do.  Check out my tutorial on the Silhouette America blog HERE.


Here's a layout that I created using the Print & Cut feature on yardstick and vellum. I love that I can create a page using no patterned paper - it's all strictly my Silhouette CAMEO that does all the beautiful work!!!  Check out my tutorial for this layout on the Silhouette America blog HERE.


Have you seen the Silhouette Mint (stamp maker)?? First of all this little machine is so cute and secondly it's so easy to use & to create your very own stamps!!  
On this layout I used a snowflake design as my stamped image.  Click HERE for the tutorial on the Silhouette America blog.


January was my final month designing for Simple Stories.  I loved working with them for the past several years.  They keep coming up with so many beautiful & amazing products.  

Here's a couple of layouts that I designed for CHA this past January.  This first one is using the Carpe Diem collection and the second layout is using Let's Party.


Thanks for stopping by and checking out my work!!
I'm off to do some more creating & I hope you have a fabulous weekend.

Tuesday, June 30, 2015

DIY Kitchen Sign

We're enduring a rather hot spell right now and it takes the energy right out of me. So I'm trying to get as much done as possible in the morning hours before we all melt with the afternoon heat.

Last week I finished up a sign for my kitchen.  I love how easy & fun this little project was.

I bought a piece of wood  (pine - approx. 48"in length by 6" wide and 1" deep) from Home Depot.


I first covered the bare wood and brushed on some Wood Conditioner.  This product helps your stain go on evenly.  It's not a must but I recommend it.

Once is was dried I applied a stain (Espresso coloured) overtop. I didn't leave the stain on for very long and then wiped it off with a rag. I love how the stain brings out the grain of the wood.
I could have applied another layer if I wanted it darker but I liked the way it was.


(and no!!  I didn't spill any stain .... that was from other DIY projects)


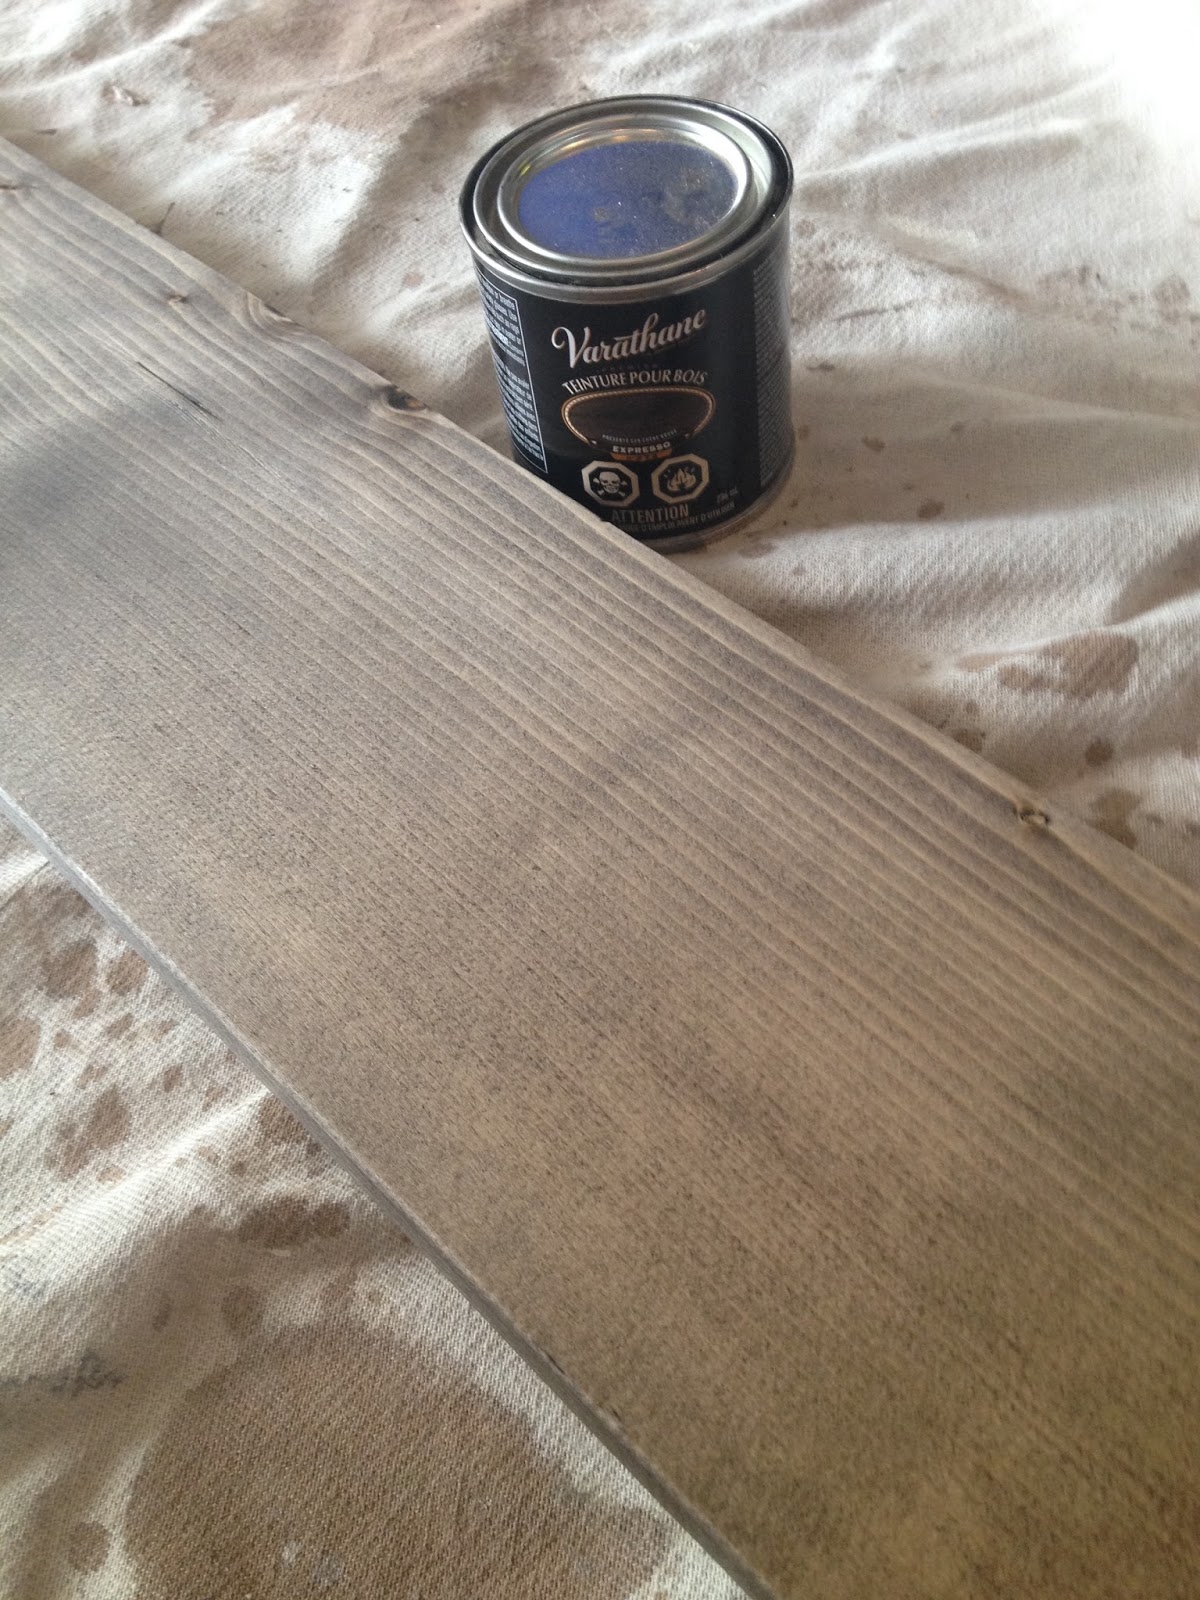
I let the stain dry for several hours (actually still the next day) and then I brushed on another stain called Pickling.  It's like a whitewash. I wanted to have a grey weather look. (Sorry I don't have a picture of the can. ) But THIS is what I used.
I worked in small sections when I applied this.  Once you 've brushed it on you immediately wipe it off and you'll notice a 'whiter' look to the wood.  IF you're wanting a more whitewashed look then you can leave it on longer.


Once the board was completely dried I applied a stencil that I made using my Silhouette CAMEO and some Stencil material.


I used some white paint overtop of the stencil to fill in each letter.


Before it was completely dry I took off the stencil.
I loved how it turned out.


I then just lightly sanded the edges of the wood and a little bit over the white letters to rough things up a wee bit.


Well that's it.  I've already got a dozen more ideas rolling around in my head and can't wait to get started on them!

Thanks for stopping by today.
Have a great week!!

Friday, June 26, 2015

Scrapbooking .... long overdue post!!

Well, it's been a while since I shared some scrappy work here so .... here goes!! (*WARNING .... it's long!!)

I've got a few layouts that I've done for Simple Stories. I always love their collections and they keep coming out with amazing new products.

Here's some things that I've created in the past few months. You can hop on over to the Simple Stories blog and see more close-up pictures of these layouts and a brief write-up as well.


I've also been busy working on projects for Silhouette America.  Can I just say (yet again) that I love my CAMEO!!!


Phew!  I told you it was a long post!

And if you've made it down here to the end - thank you!  I hope that I've inspired you creatively in some small way!!!

Monday, April 06, 2015

Happy Easter Weekend.

Happy Easter everyone!!
I hope that you have had a blessed weekend.  This has to be one of my favourite times of year. Celebrating my Saviour's resurrection and the fact that I have been redeemed!!!

I was also busy baking this weekend.
I made some Paska (Easter Bread) - something that my Grandma used to make every year.  So it brought back a lot of memories.


It's the tradition to have icing & sprinkles on top!


And yes, it was quickly devoured!!


I also made this fun little cake for our family gathering.  The inside layers were filled with a homemade custard. Yummy.  Everyone loved it. But it was on the sweet side.


I also wanted to share some easter crafts with you. I realize that Easter is over but hopefully this will give you some inspiration for next year!
I made these little projects using my Silhouette CAMEO.


eastercard&boxes | Cari Locken for Silhouette copy
I made this pop-up card with lots of fun details and 2 fun shaped pillow boxes to hold some yummy Easter treats!
First off, let's take a look at the pillow boxes.
I found these cute designs in the Silhouette America online store. I simply cut out the shapes for the design in various pieces of coloured card stock and adhered them together onto the pillow box.
Here's a look at the bunny pillow box ....
bunnyclose|Cari Locken for Silhouette
bunnypillowbox|Cari Locken for Silhouette
Here's a look at the duck pillow box ...
duckclose|Cari Locken for Silhouette
duckpillowbox|Cari Locken for Silhouette
And how could we forget their cute BE-hinds!!
behindpillowbox|Cari Locken for SIlhouette
You will notice that I did adhere some of the pieces with foam squares - just for some added dimension & visual interest.
Then I found this fabulous card (one of many amazing designs that you can find in the online store)!
eastercard|Cari Locken for Silhouette
I wanted to keep the colours subtle but still bright & cheerful!  I knew I wanted to have some sparkly eggs so I cut out the egg shapes from some card stock & Double-Sided Adhesive Sticker paper. I then began adhering the Double-sided Adhesive Sticker pieces (eggs) to the card stock making sure to layer them one on top of each other.
First peel off the yellow paper.
1adhesivesheet|Cari Locken for Silhouette
Then place this onto the card stock.  (the white side will be on top).  Then peel that white sheet off and you'll be left with the sticker clear piece.
2adhesivesheet|Cari Locken for SIlhouette
Repeat this process until all of the eggs have been adhered to the card stock.
3adhesivesheet|Cari Locken for Silhouette
I then sprinkled some Silhouette Glitter over the sticker eggs.  I first sprinkled some blue glitter, then little bits of copper (I was going for the speckled blue egg look). I then sprinkled a bit more blue glitter to cover up any missing spots.
glitter|Cari Locken for Silhouette
The bunny I cut out of grey card stock, Double Sided Adhesive paper and then covered with some grey Flocking Powder.  I wanted the bunny to look soft.
felt|Cari Locken for Silhouette
The basket layer I cut from some kraft coloured Adhesive Corrugated Paper.
basketclose|Cari Locken for Silhouette
close1|Cari Locken for Silhouette
I love how the title pops up too!  This is definitely a fun card to create.  There's a variety of them to choose from too.  Have fun creating!!!
cardtitle|Cari Locken for Silhouette

Hope you have a wonderful week!!!