
Hi there!
Well, today is Day 2 over on the Imaginisce blog revealing projects using the new i-top 2.0 tool. If you haven't checked it out you must head on over there to the blog because there's some great projects posted yesterday & today. There will be more the rest of the week as well.
Here's what I created with my tool. They are Thanksgiving napkin rings.
Step 1
Take a strip of patterned paper (approx. 2" x 9") and accordian fold the paper.

Step 2
Cut a piece of cardstock (1 1/2" x 7 1/2") or whatever width you'd like, make some scored lines along the outside edges. Sand those scored lines (I'm using Core'dinations cardstock so this leaves a wonderful finished look). Then gently bend the cardstock into a 'ring' shape and adhere the ends together slightly overlapping about 1 1/2-2" of cardstock.
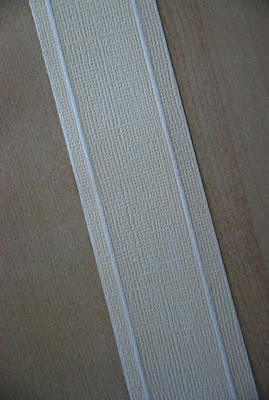

Step 3
Adhere the accordian folded piece of patterned paper to the cardstock napkin 'ring'. You may need to use a little bit of adhesive in the center to keep that part down as well.

Step 4
Use the i-top 2.0 to cover and extra large brad (34mm) and a slightly smaller sized brad (22mm). Cover with patterned paper.

Step 5
I took a pair of pliers and snipped off the brad 'prongs' or whatever you want to call them. What was left I bent in and then used some Glue Arts Adhesive squares to adhere the brad to the center of the accordian folded piece of paper.


Step 6
To make the head of the turkey I punched out 2 small white cardstock circles (regular hole punch (1/4"), a heart shape punch from patterned paper and 2 small black Glam Rocks. I adhered the black Glam Rocks to the white circles using my i-rock. I adhered the 'eyes' to the orange covered brad & then I cut out a triangle shaped piece of cardstock which I adhered below the eyes. The heart I turned upside down and adhered that behind the bottom edge of the orange covered brad.

The finished product.
After created the face of the turkey I used a couple Glue Arts Adhesive Squares to adhere the 'head' to the 'body' of the turkey.
And there you have it - turkey napkin rings! Voila!


Now remember to stop by the Imaginisce blog to check out what some of the other design team members have created.
Thanks for stopping by!


