Showing posts with label coredinations. Show all posts

Saturday, January 18, 2014

Family Frame

With Valentine's Day coming up soon I thought I'd create a frame of my family - people that I hold VERY close to my heart!
So I created this simple card stock frame along with some Xyron adhesives.


I began my picking my card stock colours and then cutting to the sizes that I needed for the cutout shapes that I was going to do. I used my Silhouette to cut out the shapes.


Here's the cut-out pieces. I used "Always & Forever Frame" and "3D Easel"
I sized them larger than they are originally when you open up the files.
You'll notice that I cut out 2 hearts & phrases in pink & red - that's mostly because I wasn't sure what colour combo I wanted to use. Turns out it was a good idea because I used both!!! (you'll see how in a moment)

I took the turquoise banner and ran it through my Cuttlebug to emboss it. 
I did the same with the turquoise half circle.


I then used a stylus and my paper trimmer to score some lines on the backside of the grey coloured card stock photo frame.


After the scored lines were created I used a sanding block to sand the embossed lines (on the 'right' side of the card stock).


I printed out a 5x7 photo and then adhered that (using the Xyron small tape runner) to a piece of black card stock that I cut to 5 3/4" x 7 1/2" (the same size as the grey frame).


I put some adhesive on the backside of the grey frame and then adhered that overtop of the black card stock and my photo.


I ran the turquoise label through my Xyron 1.5" Sticker Maker and then .... 

.... adhered it to the bottom section of the photo mat.

I ran the pink phrase and ran it through the Xyron 1.5" Sticker Maker ....
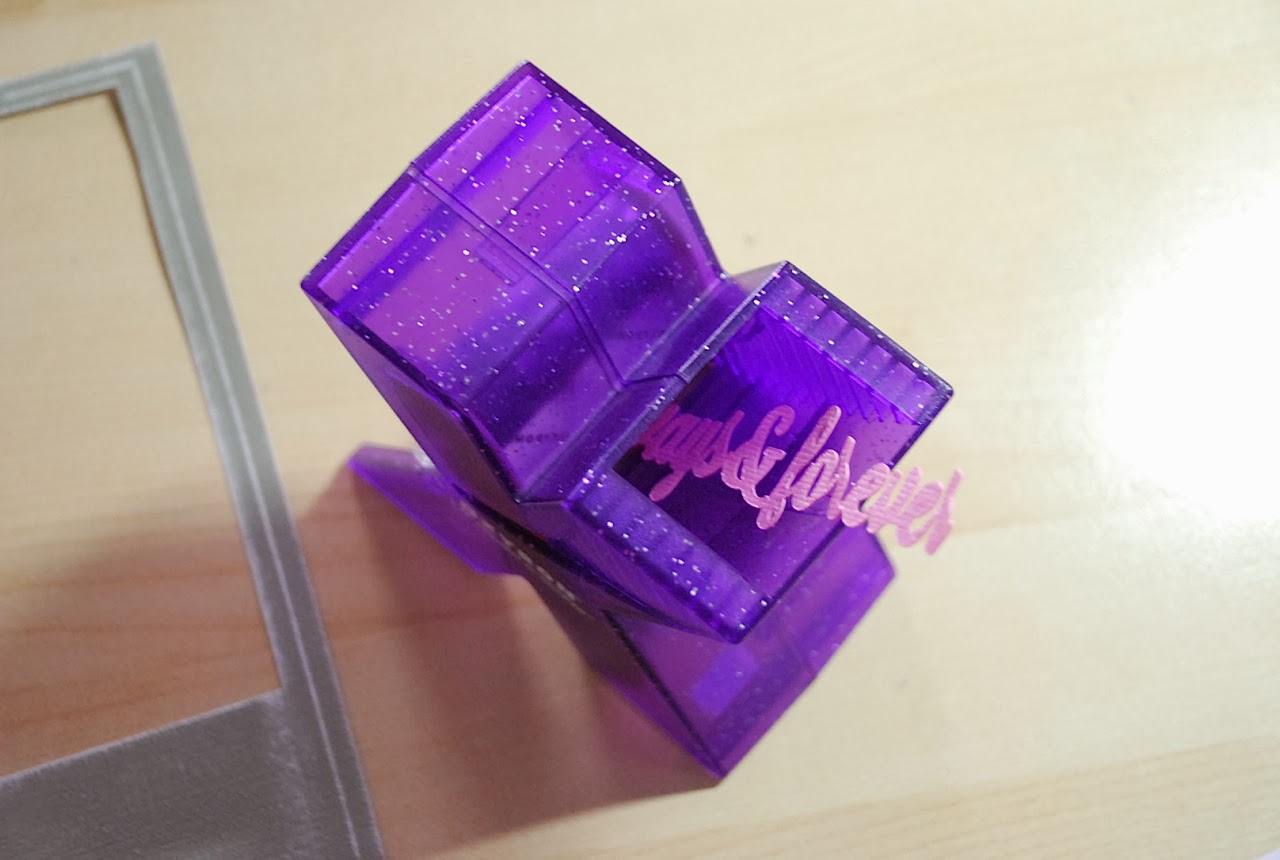

.... and then adhered the phrase to the turquoise label strip.

Now comes the part when I use the red card stock!! 
I took the phrase and cut it apart so that I could use just the "&".


I put some adhesive on the "&" with the Xyron Mini Sticker Maker and then ....


... adhered it overtop of the pink phrase.


Next I used some of the foam squares (Teresa Collins collection) and placed them on the backside of the pink heart shape.  I had already tied some Maya Road red twine around the heart.

I then placed the heart on the upper right portion of the photo frame overtop of the turquoise half circle shape.

Here's a look at the stand design. Cute huh?


A couple side views to show you.


 And a view more pics.


 Supplies: 
Xyron (Mini Sticker Maker, 1.5" Sticker Maker, small tape runner)
Core'dinations Colorcore Cardstock (Gemstones (pink), Tim Holtz collections
Silhouette Cameo
Maya Road (red twine)

Thanks for stopping by today!
Hope you have a fabulous weekend!!

Sunday, February 20, 2011

Let the Party Begin!!!


It's the big release party of Berrylicious from Imaginisce!

Today over at the Imaginisce blog the design team is sharing layouts using the Berrylicious collection. This is such a fun mouthwatering collection that you are sure to love! And the design team has created amazing projects!!!

Here's the layouts that I created.
Supplies used: Imaginisce (Berrylicious collection: papers, die-cuts, stickers & rub-ons; i-rock tool and glam rocks in white), Core'dinations cardstock, 3L (Foam squares), FIskars border punch, black marker (American Crafts), black alpha stickers (Paper Trunk)

Supplies used: Imaginisce (Berrylicious collection: papers, die-cuts, stickers, canvas stickers, i-rock tool and rhinestones in green), Core'dinations cardstock, 3L (foam squares), Fiskars border punch

Hop on over to the Imaginisce blog to check out all the amazing layouts plus leave a comment for a chance to win the entire collection of Berrylicious! They're fabulous!
And come back tomorrow to see a variety of projects that design team has created.

Have a fabulous Monday!

Tuesday, January 11, 2011

DT introductions


Morning,

I just wanted to let you know that all week long (it actually started yesterday) over at the Imaginisce blog we're having a couple of DT introductions a day. One in the morning & one in the afternoon. This is a great way to get to know the new DT members and the returning ones as we share 10 things you didn't know about us. SO fun!

I hope you have a chance to stop by ... because as always I'm sure that you'll have a chance to win some amazing prize from Imaginisce just be leaving a comment on the Designers blog and the Imaginisce blog each day.

Here's a card that I created using My Stamp Box stamps - as we had a challenge to use numbers. I also used the Pennants for the banner and Time Line and because I didn't really have any numbers stamps I just so used Royal Flush and the letters "i" for the #11. Check out the blog for more great ideas that the DT created.

Supplies used: myStampBOX stamps, Core'dinations cardstock, ink (Colorbox)

Have a super day!!

Monday, December 20, 2010

A bit of housekeeping

So, I spent a few hours on my blog and cleaned it up a bit. Was getting a bit too cluttered for my liking. I also added a few more tabs at the top. Feel free to check them out!

So, the kiddos are off school for the holidays now and I'm looking forward to some family time. We're going to do some baking this week, maybe go skating, play games and SLEEP IN!!!!! Yeah!!!
They're getting very excited and I love seeing that in their faces. So am I as a matter of fact. I just love this time of the year. I love that they like all the decorations and putting on the christmas lights. In fact, they fight over who plugs in what!!

So, not too much to share today but I did want to remind you to continue checking out the Core'dinations blog (12 Days of Technique) and Imaginisce (Garden Party). There's always lots of exciting things happening there!

Here's a small peek of a card that I made for myStampBOX - they'll be posting some more projects this week so make sure to check that out too.

Plus make sure to check the blog to see if you're a winner of a stamp set - for those of you that posted on the blog.

And here's a few pictures from when we cut our tree down at the beginning of December.

Before we even started to hunt for our tree there was this nice little arbor thingie where we took a family picture. It happens to be the photo that I used for our Christmas cards this year.
... and ... they're off!!
Isn't he just the cutest??? Yeah, I know he knows it too! Such a big cheese!
We found it!
So that's it! Have a great Monday!!

Oh, and I'd love it if you'd stop by Nikon Canada on Facebook (CLICK HERE) and vote for a photo of mine. All you have to do is click LIKE and you're done. Thanks so much!!

Friday, December 17, 2010

Another Christmas Card to share


I was having some fun with my stamps the other day and made this Christmas card using "O Christmas tree" stamp set from myStampBOX. I used the star stamp from the set and red & green ink to make the "tree" shape.


I also used some yummy new glitter cardstock (the green) Core Couture from Core'dinations. Isn't it great?! As well as some striped paper from Imaginisce, Cottage Christmas collection. I finished it off by adding some bling with the i-rock tool!! I love that thing!

Well, I'm very excited that the holidays are really beginning - today is the last day of school for the kids and we're having a school movie day. So fun!
Next week I've got lots of baking planned and the kids are excited to help out! Should be fun!

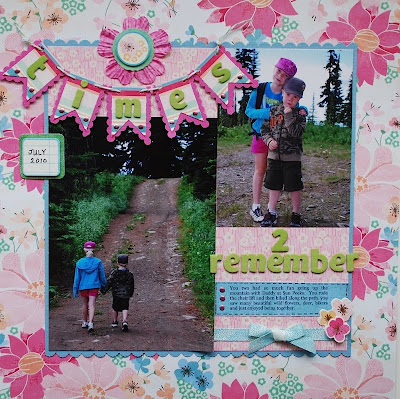
Oh and before I go, here's one of the layouts that I created for Imaginisce's Garden Party release.
I made the banner pieces myself and trimmed them in pink with some scalloped scissors.


I've also added some glam rocks in places using the i-rock tool. They just add the perfect touch to ANYTHING!!
I've also used the i-top tool and some new twist daddies to make this adorable little headband for my neice.

I also used the i-top tool and some new snap daddies to make this ring. Aren't they cute?
Pop over to the blog to see many wonderful creations by the design team.