
Today I'd like to share a little tutorial with you. I used my Cricut Expression to create this cute little card and some awesome Xyron adhesives to put it all together.
Step #1:
After deciding what card design I was going to make I had to figure out what colors of cardstock I wanted. I wanted something cheerful, summery and inviting.

Step #2:
I then cut out all of the pieces using my Cricut Expression and the Wild Card 2 cartridge.


Step #3: Embossing
I chose to emboss several of the cardstock pieces first before adhering them together. (i.e door & body of the trailor) Then I sanded the embossed designs. I also sanded the edges of the 'window'.

Step #4: Adhering
I adhered the pieces together started from the bottom layer and working upwards using the Xyron Mega Runner.


I cut another door shape from red cardstock because I wanted the red to show through the heart shape of the door.

So I cut off the bottom section.

Put some adhesive (Xyron Permanent Adhesive Glue Stick) on the back of the grey coloured door. Then I adhered that overtop of the red cardstock.

I then adhered the door to the front of the trailor (overtop of the orange cardstock door).

I sanded the edges of the orange circle (for the tire) then ran it through my 1.5" Xyron Create-a-Sticker and then adhered that to the tire.


After adhering all the pieces of the trailer together I adhered all of it to the black card shape.

Step #5: Inside of Card (Sentiment)
The inside of the card had 3 different pieces & colors. I adhered them together using my 5" Xyron Create-a-Sticker .


Then I used my 1.5" Xyron Create-a-Sticker to adhere the red pieces to the yellow sentiment. (I also sanded the edges of the red cardstock pieces ... TIP: do this before you add the adhesive)

I then ran the entire sentiment piece through my 5" Xyron Create-a-Sticker

TIP: If you aren't familiar with using this machine I must tell you that's it's so much fun. After you run your design through the rollers you must then rub on the image. This helps to create the stickiness on the back of your design.
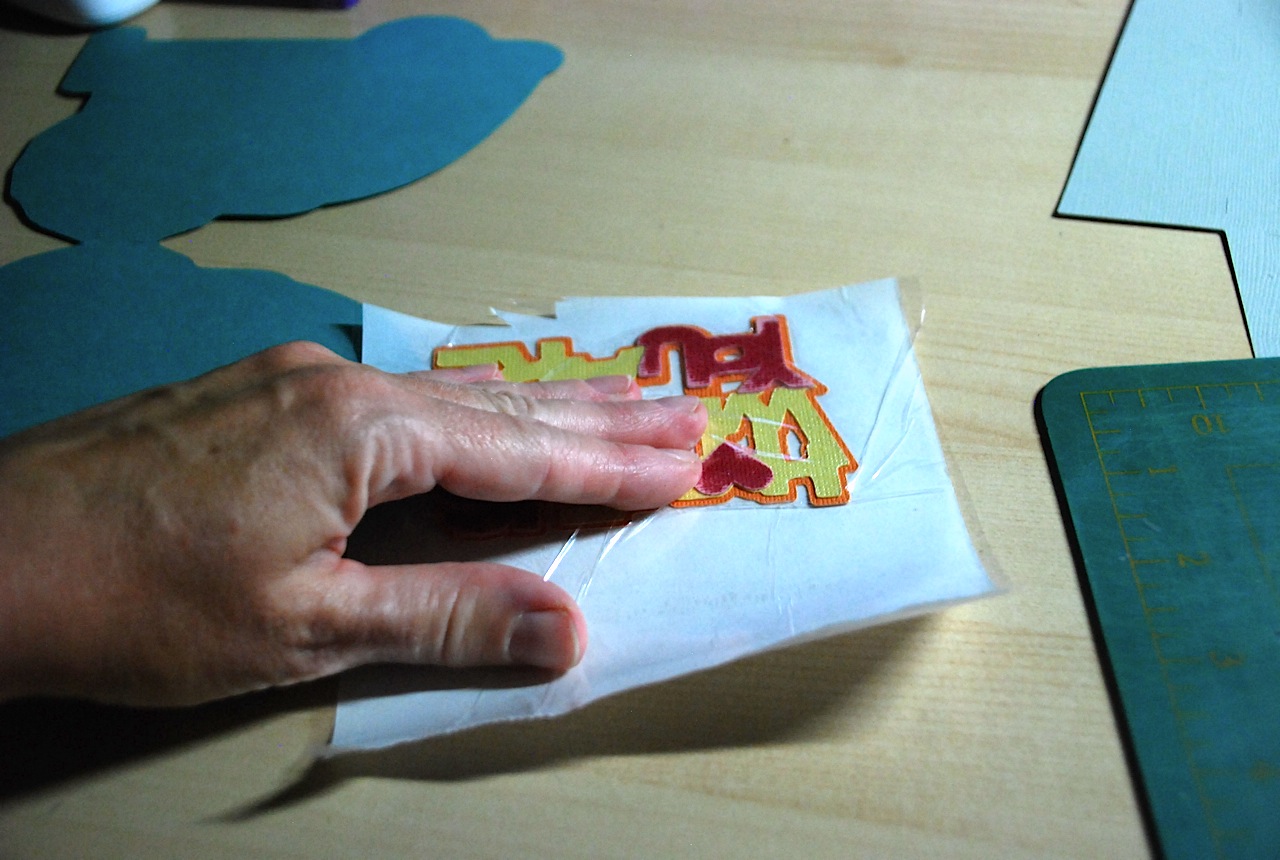
You then simply pull off the liner (top layer) and carefully peel your sticker off the white backing and adhere to your project.


Step #6: Envelope
After cutting out the pieces for the envelope (3 in total) I embossed the rectangle turquoise piece and sanded it.

I used the Xyron Glue Stick to adhere the liner to the inside of the envelope and then adhered the flaps of the envelope as well.

My handy little 1.5" Xyron Create-a-Sticker (one of my favorite tools) was used to adhere the heart shape to the back flap of the envelope.


Here's just a few more pictures of the card & envelope set.

Isn't the front of that envelope just the cutest? I probably cut have dressed it up a bit more ... but I'm a 'simple' kind of gal. ;)

Supplies used:
- Core'dinations Colorcore Cardstock (Core Essentials, Gemstones and Black Magic collections, Sand It Gadget and Dust Buddy cloth)
- Queen & Co (pearl rhinestone)
- Cricut Expression and Wild Card 2 Cartridge
- Cuttlebug machine and embossing folders
THE FINISHED PROJECT:
And here's the final version of my card. (I realized that it was missing a 'little' something ... so I added a pearl to the door for the door handle.

Thanks for stopping by.


Very cute, Cari!! I love my xyron dot runner I have and I have had my 1.5" sticker maker forever. So handy for the little pieces.
ReplyDeletesuch a real fun sample. You can just see the fun you had with this project!!
ReplyDelete