

Today I'm excited to share some projects with you that I created for Xyron because we are having a blog hop with Core'dinations (one of my favorite companies ever!!!!!)
So to begin I have a simple little fall themed card.

Supplies: Xyron (Mini Create-a-Sticker, High Tack Adhesive Dots), Core'dinations Colorcore Cardstock (TH Distress, TH Shattered, 6x6 Glitter), embossing folder (Darice), Cuttlebug
I first cut my cardstock to size and then embossed the front of it. Sanded it with my Sand it Gadget and cleaned off the dust with the Dust Buddy. (love that thing!)
I then punched out a bunch of leaves in different colors and ran them through my Xyron Mini Create-a-Sticker. This thing is so handy for the tiny pieces.

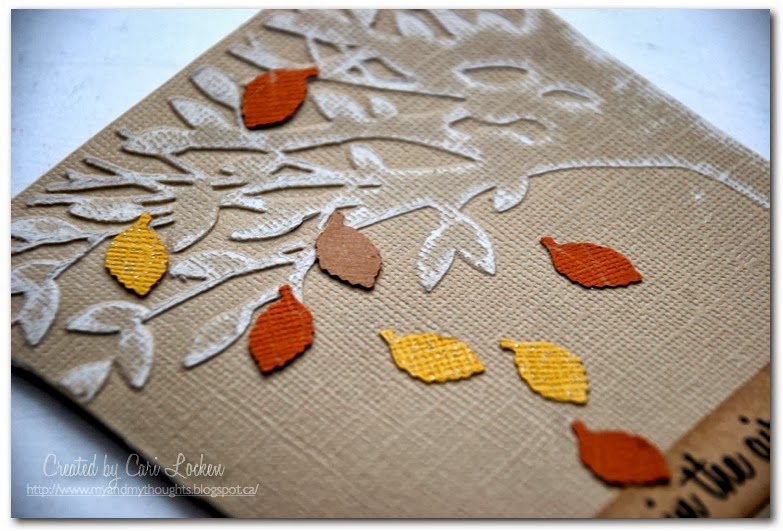
I printed the sentiment on my computer onto the backside of the Core TH Kraft Shattered cardstock (it's kraft colored on the other side and the colors were perfect for the card). Added a button with twine using the Xyron High Tack Adhesive Dots.

My 2nd project is a Gratitude Tree that I'll be sharing on the table or somewhere in my home during Thanksgiving. This is a cut file from the Silhouette store and it was super easy to put together. Let me show you with this quick tutorial.

Supplies: Xyron (9" Creative Station), Core'dinations Colorcore Cardstock (TH Shattered, Distress and 6x6 Glitter collections, Vintage), Cuttlebug embossing folders, Cuttlebug, Silhouette, The Twinery (green twine)
1. Cut out pieces from Core'dinations cardstock using Silhouette. I used the TH Kraft Shattered collection for the tree and for the leaves I used some Core Glitter cardstock (in yellow) and TH Kraft Shattered (in red & orange)
* the file only cuts out 2 trees (one with a slit at the top & the other with a slit at the bottom - this is how you assemble them together). But I cut out another set because I decided I needed some more stability when it was put together. Plus the backside of the brown cardstock is a kraft color and I wanted the entire piece to be brown.

2. I then ran each of the trees through my Xyron 9" Creative Station.


3. I then adhered 2 of the same tree pieces together.


4. Then I gently sanded the edges with my Sand It Gadget and cleaned off the dust with the Dust Buddy cloth.


5. I took the leaves and placed them all into an embossing folder.

6. Once they were all embossed I sanded them very gently.


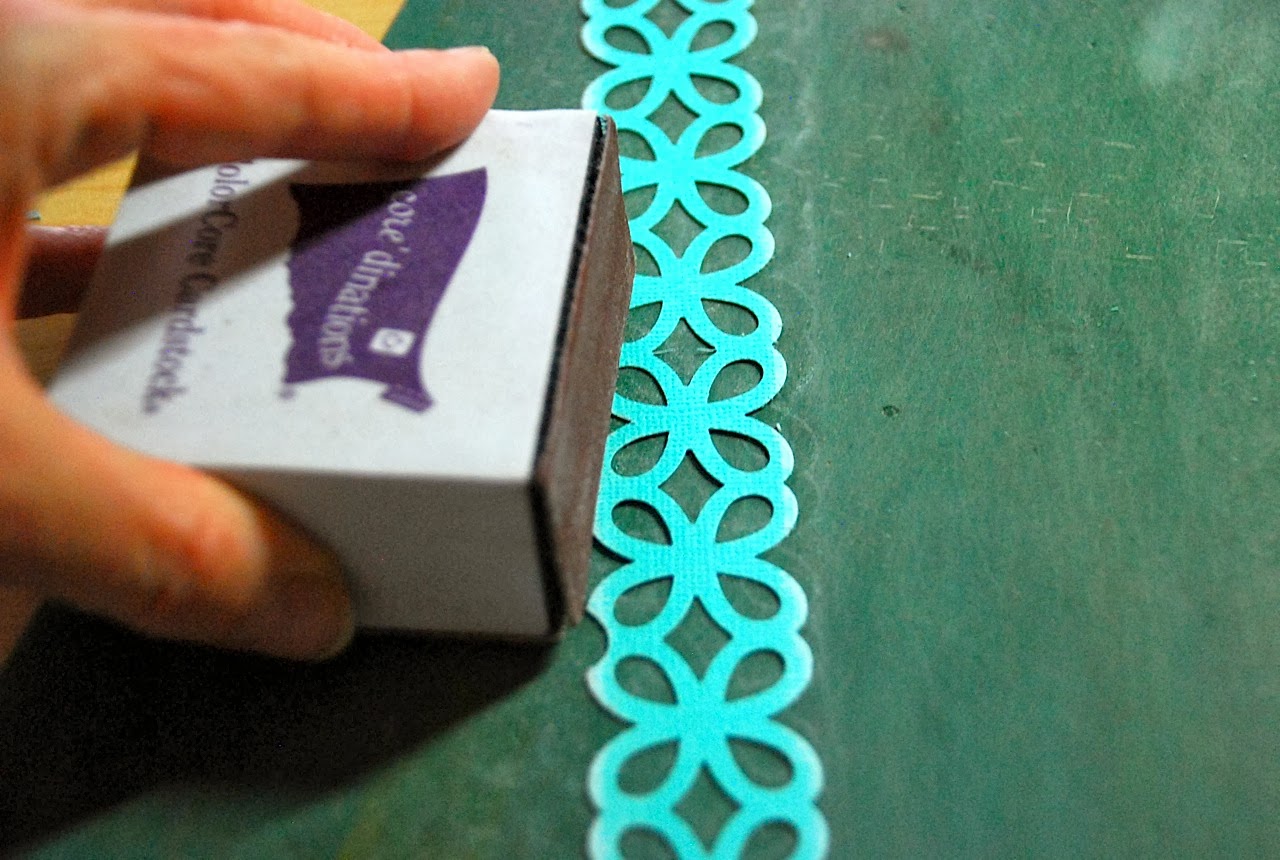
7. I then cut a 7" x 7" piece of brown Core' Vintage cardstock and used a paper punch (from EasyCutCrafts) and created a circle shape/doily like pattern.


Once cut I embossed it with a large dotted pattern and then sanded the embossed image.

Here's a pic showing the difference between the sanded image and the non-sanded (by my fingers).

I tied some twine through each leaf and then hung them from the tree.
What I plan to do is have the leaves sitting in a little dish and each family member/guest will write something that they are thankful for and then they can hang it on the tree.


And finally my last project .... Sorry for the long post but I have an obsession with Core'dinations Colorcore Cardstock!!
My final project is a super easy and super fun.
They are candle wrappers.

Supplies: Xyron (High Tack Tape, 2.5 Create-a-Sticker, 5" Creative Station), Core'dinations Colorcore Cardstock (TH Distress collection)

I then folded the template on the cut lines provided and then made scored some lines vertically and horiozontally on the template. I sanded the lines with the Sand It Gadget and cleaned off the dust with the Sand It Gadget.
I adhered the sides together with Xyron High Tack tape. Super Easy!!
Now all you do is put your tealight on the table and place this template over top. I have actually bought some of the tealights that are battery operated (so I don't set my house on fire!!)

For the other 2 candle wrappers I used some large border punches (like these) and punched on both sides of a large strip of cardstock.
I then created some faux stitch lines across the middle section. Then sanded them.


The other 2 strips I used this border punch and then gently sanded the edges.
I then got ready to put them through my Xyron 2.5" Create-a-sticker machine!!!


Next step was to wrap the cardstock all around the candle and trim the ends once they matched up.

I ran the other piece through my 5" Creative Station and then wrapped it around the candle like I did with the other 2.

I hope that you've stuck around 'til the end of this post and have been inspired today with my projects. Thanks for stopping by!!!
great projects - I love my Xyron products - make crafting sooooo much easier ....
ReplyDeletethanks for the inspiration!
Sandra ltb
Lovely projects. The tree is
ReplyDeleteso cute and will be fun to use.
Carla from Utah
Very fun and beautiful projects.
ReplyDeleteThe tone on tone of your card is gorgeous. I have to try that one. Even though I don't have an electric die cutter-I think I can do the candles with some of my punches. Thank you for such fun inspiration.
ReplyDeleteWOW - lots of CORE-riffic projects - love how Xyron works like magic adhering all the itsy bitsy pieces!!!
ReplyDeleteYour card & tree are so cute and your decorated candles & tea light holder are beauties that will bring delight throughout the year, make for a great gift too :)