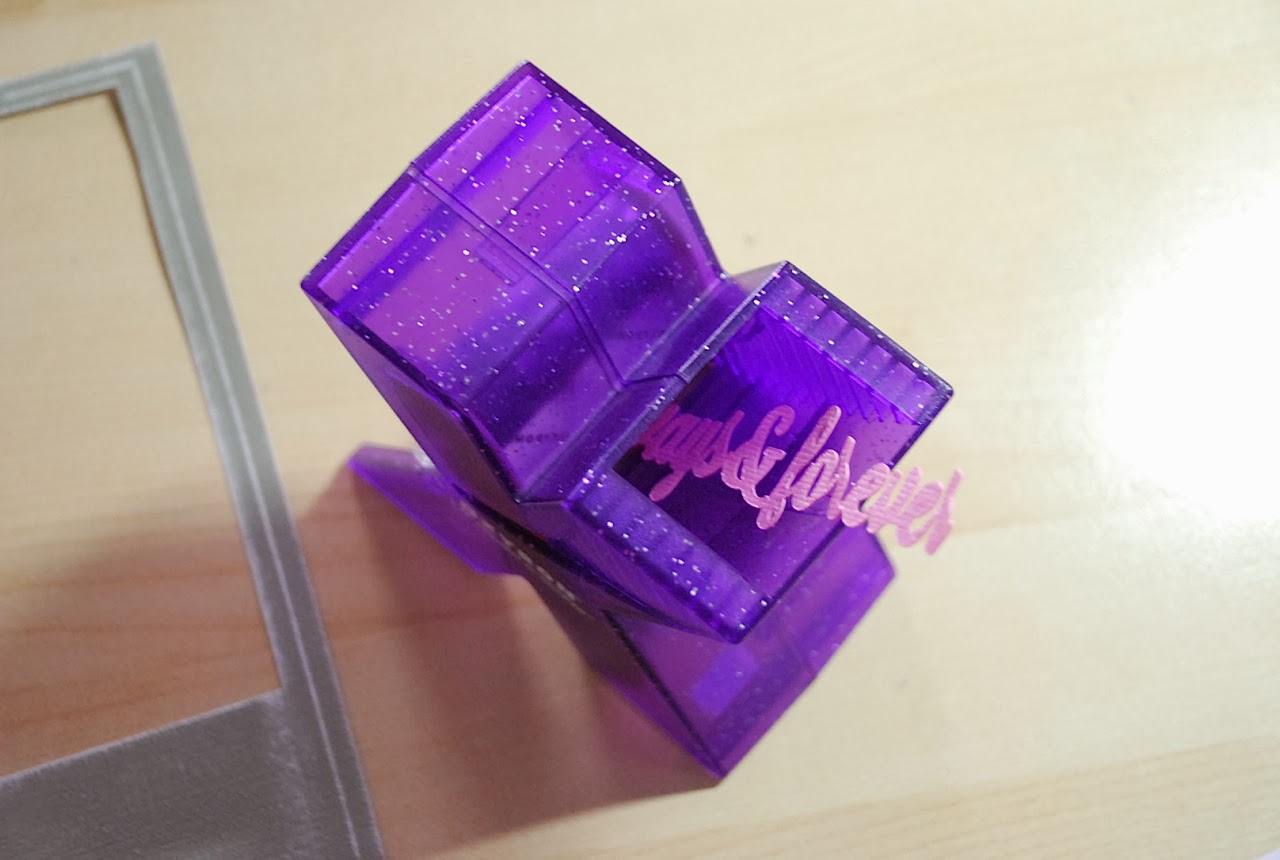
So I created this simple card stock frame along with some Xyron adhesives.
I began my picking my card stock colours and then cutting to the sizes that I needed for the cutout shapes that I was going to do. I used my Silhouette to cut out the shapes.
Here's the cut-out pieces. I used "Always & Forever Frame" and "3D Easel".
I sized them larger than they are originally when you open up the files.
You'll notice that I cut out 2 hearts & phrases in pink & red - that's mostly because I wasn't sure what colour combo I wanted to use. Turns out it was a good idea because I used both!!! (you'll see how in a moment)
I took the turquoise banner and ran it through my Cuttlebug to emboss it.
I did the same with the turquoise half circle.
I then used a stylus and my paper trimmer to score some lines on the backside of the grey coloured card stock photo frame.
After the scored lines were created I used a sanding block to sand the embossed lines (on the 'right' side of the card stock).
I printed out a 5x7 photo and then adhered that (using the Xyron small tape runner) to a piece of black card stock that I cut to 5 3/4" x 7 1/2" (the same size as the grey frame).
I put some adhesive on the backside of the grey frame and then adhered that overtop of the black card stock and my photo.
I ran the turquoise label through my Xyron 1.5" Sticker Maker and then ....
.... adhered it to the bottom section of the photo mat.
I ran the pink phrase and ran it through the Xyron 1.5" Sticker Maker ....
.... and then adhered the phrase to the turquoise label strip.
Now comes the part when I use the red card stock!!
I took the phrase and cut it apart so that I could use just the "&".
I put some adhesive on the "&" with the Xyron Mini Sticker Maker and then ....
... adhered it overtop of the pink phrase.
Next I used some of the foam squares (Teresa Collins collection) and placed them on the backside of the pink heart shape. I had already tied some Maya Road red twine around the heart.
I then placed the heart on the upper right portion of the photo frame overtop of the turquoise half circle shape.
Here's a look at the stand design. Cute huh?
A couple side views to show you.
Xyron (Mini Sticker Maker, 1.5" Sticker Maker, small tape runner)
Core'dinations Colorcore Cardstock (Gemstones (pink), Tim Holtz collections
Silhouette Cameo
Maya Road (red twine)
Hope you have a fabulous weekend!!


So pretty Cari!!!
ReplyDeleteLove this!! great tutorial!
ReplyDelete